WordPress how to publish my draft pages
To publish a draft page in WordPress, you can try the following steps:
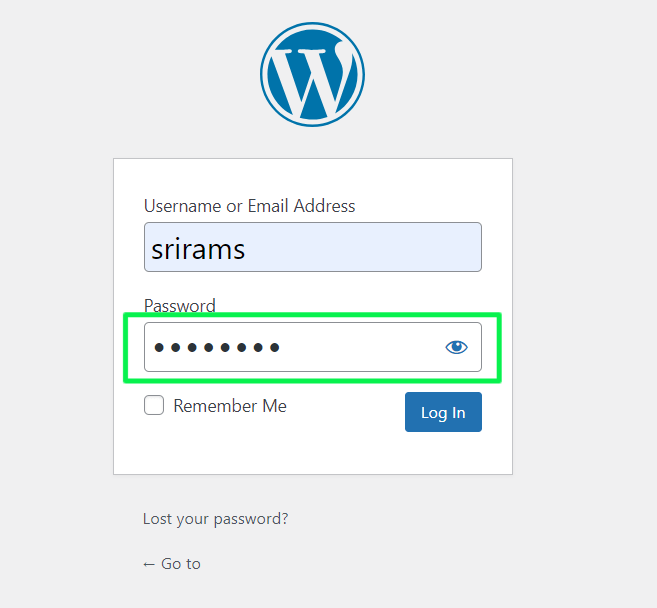
- Log in to your WordPress admin panel
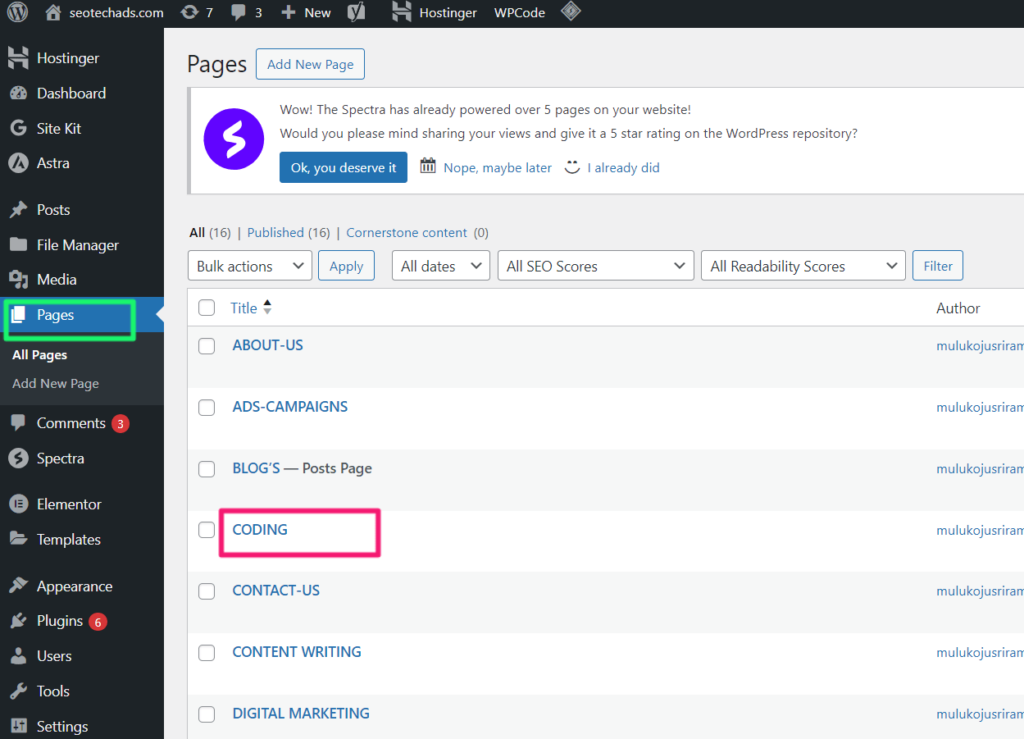
- Go to Pages
- Find your draft page
- Click the title of the draft page you want to publish
- Locate the Publish section in the top-right corner of the screen
- Click the Publish button.
Log in to your WordPress admin panel

Go to your WordPress website and log in using your administrator credentials.
Go to Pages

On the left-hand menu in the WordPress admin panel, click on “Pages”. This will show you a list of all your pages.
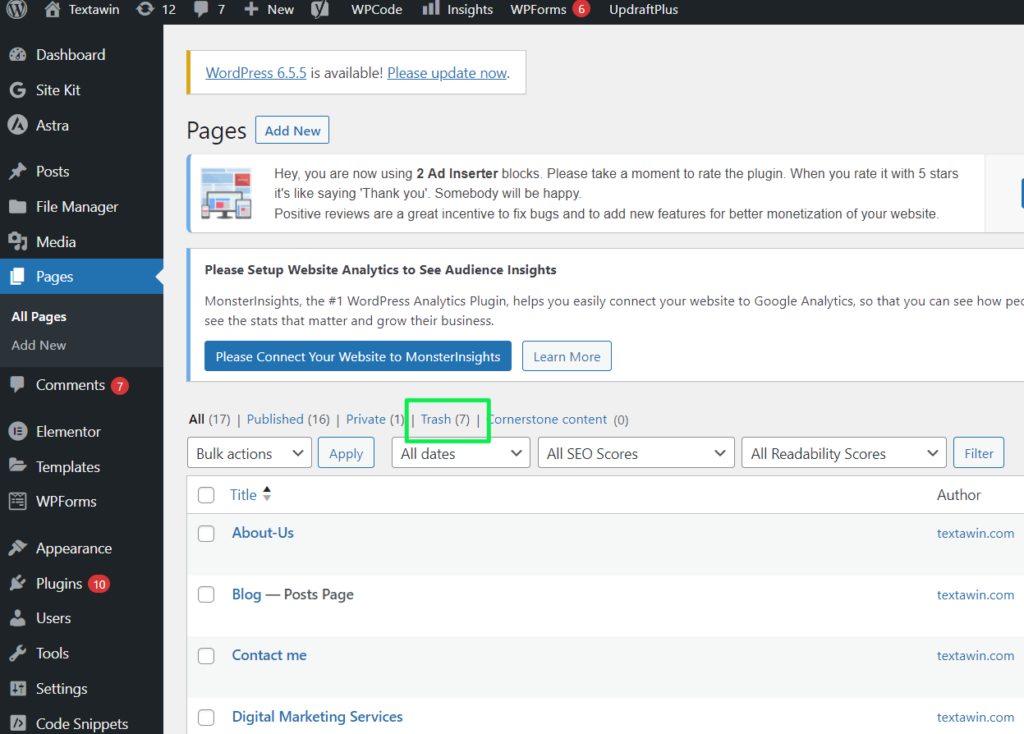
Find your draft page

Look through the list of pages to find the draft you want to publish. Draft pages are typically marked with “Draft” next to the title.
Click the title of the draft page you want to publish

Hover your mouse over the title of the draft page. You should see options appear below the title such as “Edit”, “Quick Edit”, “Trash”, etc. Click on “Edit” to open the draft page for editing.
Once the draft page is open for editing, you’ll see the publishing options on the right-hand side of the editor.
- You can check the content of your page before publishing to make sure everything appears okay.
- Click the “Publish” button next to the “Status” dropdown menu when you’re ready to publish.
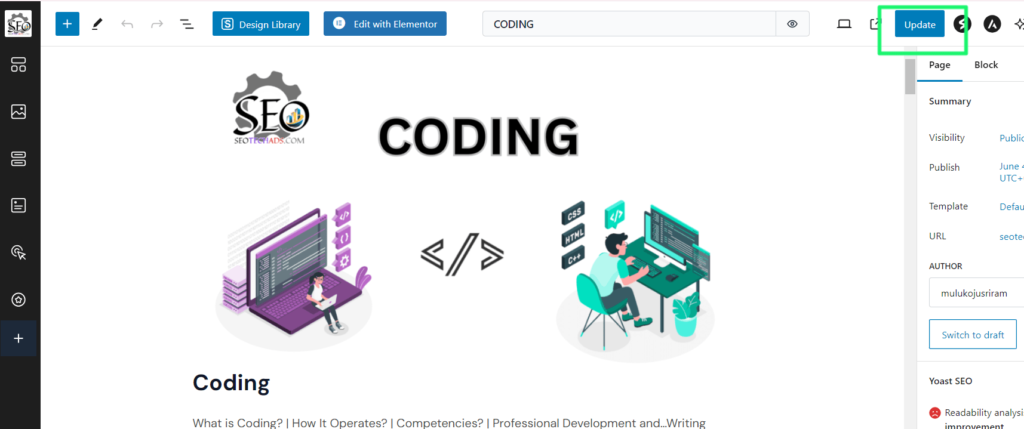
- WordPress will confirm that your page has been published. You’ll see a message indicating success, and the “Publish” button will change to “Update” if you want to make further edits later.
Locate the Publish section in the top-right corner of the screen
Click the Publish button.
Following publication, you can either visit to your website and use the URL you’ve set up or the “View Page” link that shows up in the success message.
Finally results of page you can see this pic

